

Common Minor Problems with Car Wrapping Films: Scratches and Stains? No Need to Replace the Film! Simple 2 Steps to Repair
author: MingTU
2025-11-05
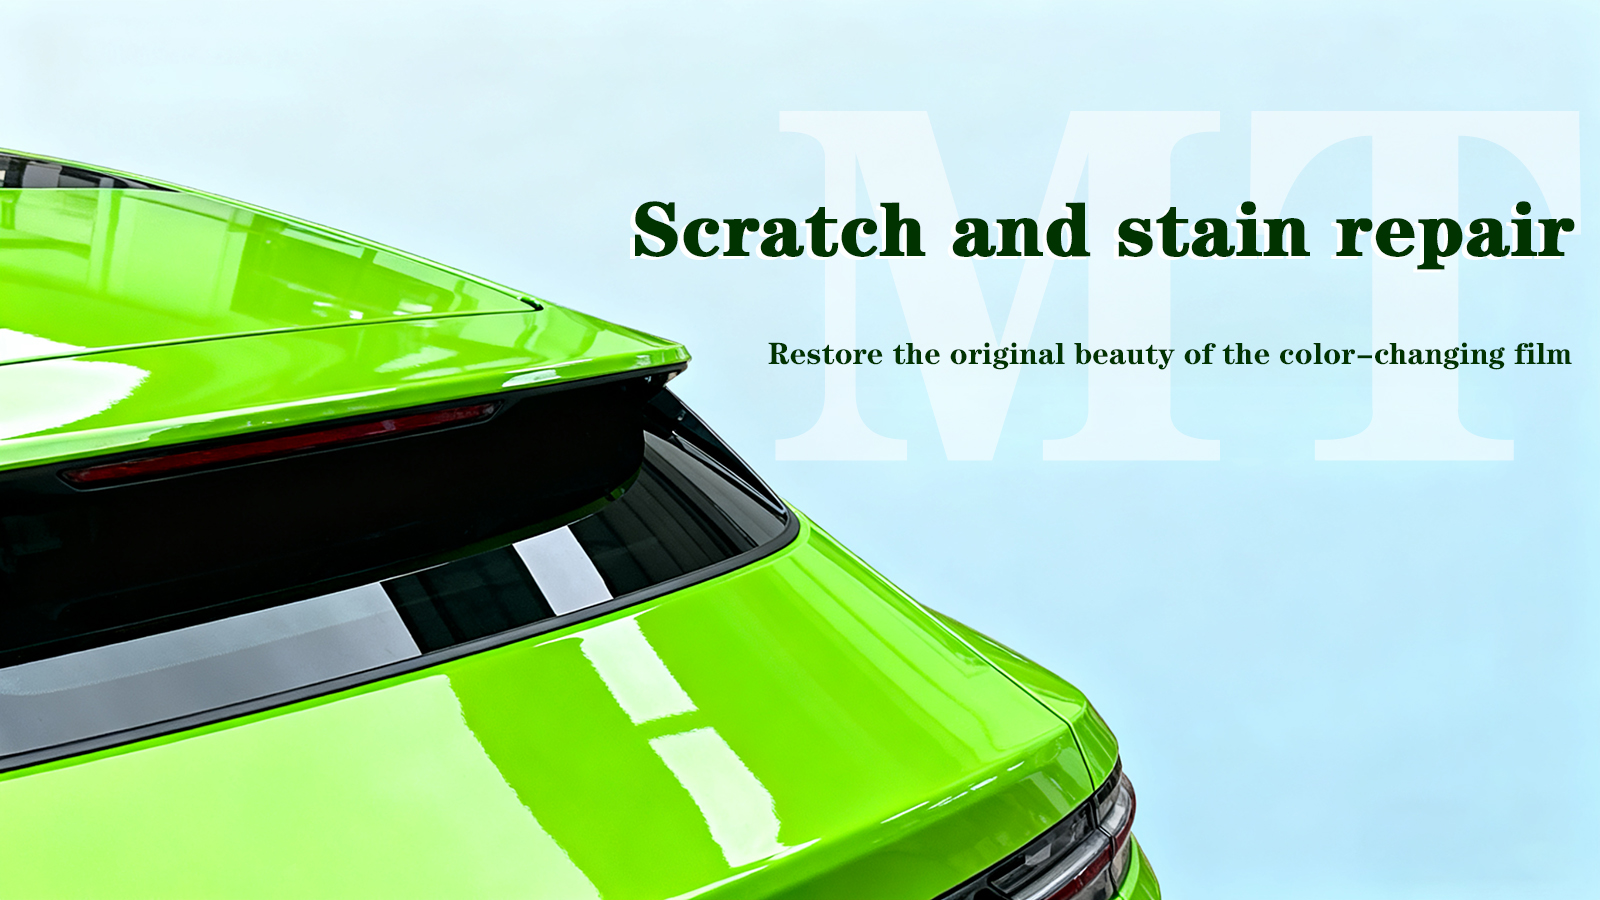
Car wrapping films give your car a personalized look, making it stand out from the crowd. However, in daily use, wrapping films inevitably encounter some minor problems, with scratches and stains being the most common. For example, when driving on narrow roads, the car body may be accidentally scratched by tree branches, leaving scratches; or when parked under trees, tree sap, bird droppings, and other stains may quietly "settle" on the film surface.
Step 1: Assess the Damage
Before repairing the wrapping film, accurately assessing the damage is the crucial first step. Only by clearly identifying the degree of scratches and the type of stains can you "treat the symptoms" and take appropriate repair methods.
(I) Scratch Degree Assessment
Minor Scratch: These scratches are usually just shallow "floating" on the surface of the color-changing film. Close inspection reveals that they only damage the outermost layer of the film. Touching them, you can barely feel any indentation or protrusion, like a very shallow mark left by lightly scratching a tabletop with your fingernail.
Deeper Scratch: The scratch depth is increased, noticeably deeper than a minor scratch. Touching along the scratch with your finger, you can feel a clear indentation, but at this point, the scratch has not penetrated the color-changing film to reach the paint.
Severe Scratch: This is the worst situation. The scratch has completely penetrated the color-changing film and may even have damaged the underlying paint. Visually, there will be obvious cracks or breaks. Under light, the abnormality at the scratch is very obvious, greatly affecting the overall appearance of the vehicle.
(II) Stains Type Assessment
Common Stains: Dust and dirt are the most common stains. They are usually absorbed from the air or stirred up from the road surface during vehicle operation and adhere to the color-changing film. Touching it reveals a grainy texture, and the color is relatively light, generally gray or brown.
Corrosive Stains: Bird droppings, tree sap, and acid rain residue are all corrosive. Bird droppings are often darker in color, appearing white, yellow, or black, with a sticky texture that adheres tightly to the film surface after drying; tree sap is a transparent or pale yellow semi-solid with strong adhesiveness; acid rain residue may not be easily visible to the naked eye.
Aging Stains: As the color-changing film ages, natural aging occurs, producing some difficult-to-remove stains. These stains appear as uneven coloring on the film surface, with localized dark or yellowish patches, indicating the gradual degradation of the color-changing film material.
Step 2: Repair in Progress
After accurately assessing the damage to the color-changing film, the repair work can begin. There are several effective repair and cleaning methods for scratches and stains of different degrees, which will be detailed below.
(I) Scratch Repair
Minor Scratches:
Toothpaste Wiping Method: First, squeeze an appropriate amount of toothpaste onto a soft, clean cloth and spread it evenly. Then, gently rub the scratch in the same direction. During the wiping process, you can see the scratch gradually become lighter, restoring the film surface to a smooth finish.
Scratch Repair Wax Polishing: Scratch repair wax is a product specifically designed for scratches on automotive paint and color-changing films, with significant repair effects. First, thoroughly wet a waxing sponge, then apply an appropriate amount of scratch repair wax to the sponge. Place the sponge on the scratch and polish in a circular motion, maintaining even pressure and speed. As polishing continues, the scratch will gradually be covered by the repair wax and disappear.
Scratch Repair Wax Polishing: Scratch repair wax is a product specifically designed for scratches on automotive paint and color-changing films, with significant repair effects. First, thoroughly wet a waxing sponge, then apply an appropriate amount of scratch repair wax to the sponge. Place the sponge on the scratch and polish in a circular motion, maintaining even pressure and speed. As polishing continues, the scratch will gradually be covered by the repair wax and disappear.
Heat Repair Method: The heat repair method utilizes the thermoplasticity of the color-changing film, restoring the film surface to a smooth finish through heating. Apply a hot towel to the scratch, allowing the heat to transfer to the color-changing film. Continue applying heat for a few minutes to ensure even heating of the film surface. Then, gently press and wipe the scratched area with a soft cloth or brush, using the elasticity of the heated film to smooth the scratch.
For deeper scratches: First, prepare appropriately sized wet sandpaper, soak it in water for a few minutes until fully moistened to reduce friction and heat damage. Then, hold the damp sandpaper and gently and evenly sand along the direction of the scratch, continuously wetting the sandpaper to keep it moist until the scratch gradually fades and becomes inconspicuous. Rinse the sanded area with water and dry it. Next, select a touch-up pen that matches the color-changing film and apply it evenly and delicately to the scratch, avoiding color differences. After the paint dries naturally, gently buff the repaired area with a soft cloth for a more natural look. Note that sanding should be done carefully to avoid over-sanding and damaging the film; the color matching of the touch-up pen directly affects the repair effect.
(II) Stain Removal
Ordinary Stains: Cleaning ordinary stains such as dust and dirt on the color-changing film is relatively simple: First, prepare a neutral car wash liquid and mix it with water at a ratio of 1:100-1:200 (refer to the product instructions for specific details) to make a cleaning solution; soak a soft cloth in the solution until fully saturated, and gently wipe the stained area from top to bottom and from left to right. For stubborn stains, wipe several times or apply slightly more pressure, but avoid scratching the film surface; after wiping, thoroughly rinse off any remaining car wash liquid and stains with clean water, and finally dry the film surface with a clean, soft towel.
Special Stains: Caution is needed when dealing with corrosive stains such as acid rain, bird droppings, and tree sap on color-change films. For acid rain residue, use a professional film cleaner or paint protection film maintenance liquid as soon as possible. Spray evenly and let it sit for a few minutes to allow the cleaning ingredients to neutralize the acid and alkali and dissolve the stains. Then gently wipe with a soft cloth and finally rinse with clean water. For bird droppings and tree sap, cover with a damp cloth for 10-15 minutes to soften them, then wipe with a soft cloth. Residual stains can be treated with a professional cleaner. Do not use industrial or household cleaners, as these may corrode the film surface, shorten its lifespan, or even cause fading and peeling.
Daily Protection Tips
While knowing how to repair scratches and stains is important, prevention is key to keeping your color-change film in good condition. The following daily protection tips can help reduce the chances of scratches and stains on your color-change film, keeping your car's "new coat" looking its best for longer.
(I) Avoid Contact with Sharp Objects
Daily precautions should be taken to prevent damage to the color-changing film from sharp objects: When parking, keep the car away from construction sites and corners. The former contains haphazardly piled building materials, while the latter has sharp edges that can scratch the film when the vehicle approaches or moves. When getting out of the car, be careful with sharp items such as keys and backpack zippers to avoid contact with the car body. Do not place sharp tools or decorations inside the car to prevent scratches from movement during driving.
(II) Regular Cleaning
Regular cleaning is essential for maintaining the color-changing film's condition. It is recommended to clean it weekly to promptly remove dust, dirt, and other stains to prevent accumulation and damage. Use a soft cleaning cloth such as a microfiber cloth, mixed with a mild car wash solution at a ratio of 1:100-1:200 with water. Gently wipe the car body with the damp cloth, applying even pressure. Use a soft brush to lightly clean crevices and corners. After cleaning, thoroughly dry the car body with a clean towel to prevent water stains from forming spots that affect the appearance when exposed to sunlight.
(III) Using Maintenance Solution
The color-changing film maintenance solution enhances the film's antioxidant and stain-resistant capabilities, extending its service life. It can be used for the first cleaning and maintenance 3 days after the color-changing film application, and thereafter recommended to use it every few months. When using, first spray the maintenance solution evenly onto the film surface, then gently wipe it with a clean sponge or towel to help it fully penetrate. After wiping, promptly dry the seams and edges with a soft cloth to avoid moisture residue damaging the film. Note that you should choose a reliable maintenance solution specifically designed for color-changing films; do not use inferior or incompatible products to prevent damage to the film.
(IV) Pay Attention to Parking Environment
The parking environment has a significant impact on the color-changing film. Avoid areas with direct sunlight as much as possible. Prolonged exposure to sunlight can cause the film color to fade, accelerate aging, and even cause blistering and cracking. If possible, park in underground parking lots or areas with sunshades. For outdoor parking, use sun umbrellas or car covers for protection. At the same time, avoid parking under trees to prevent bird droppings, tree sap and other corrosive stains from damaging the film surface and making it difficult to clean. When parking, you should also keep an appropriate distance from other vehicles to avoid them opening their doors and scratching the car body.
Tesla/BYD Car Window Tint Guide: Heat & Privacy
